Showing posts with label water decals. Show all posts

Monday, 10 November 2014

Portal chamber info icons nail art and Celestial Cosmetics Snow Clouds swatch

As I mentioned earlier, I went to PAX Australia at the beginning of the month, where I cosplayed as Chell from the video game Portal.

I was talking to Caitlin from Nerd With Nails and she mentioned that she'd also gone to PAX, and she'd painted her nails in an Animal Crossing manicure! Check it out, they look amazing.

So here's my PAX mani. In the game, each level starts with a sign that tells you what hazards you'll come across in the level (here's a picture of one). So for my manicure I put the chamber information icons onto my nails! Someone noticed them while admiring my costume and asked to take a picture of my nails as well as my costume - so happy people noticed!

I started by painting my nails white with Celestial Cosmetic's Snow Clouds, a really nice crisp white that goes on very smoothly. I did - I think it was three coats? But you could probably use two careful coats if you wanted. I put a swatch of it at the end of this post.

I then used some nail decals which I'd printed myself, and just stuck them on. This time I let them completely dry before applying topcoat and they hardly smeared - much better. 
 
L-R The cake is a lie, Place weighted cube on button, Use the portal to fling yourself, Sentry turret.

L-R: High-speed portal exit, Use the portal to fling yourself, Aerial faith plate, Sentry turret.

And here's one with my companion cube in the background! :D


To wrap things up, here's Snow Clouds on its own:


Friday, 24 October 2014

Halloween nail art using Born Pretty Store decals and Lilypad Lacquer's polish from the Holo-ween What's In-die Box

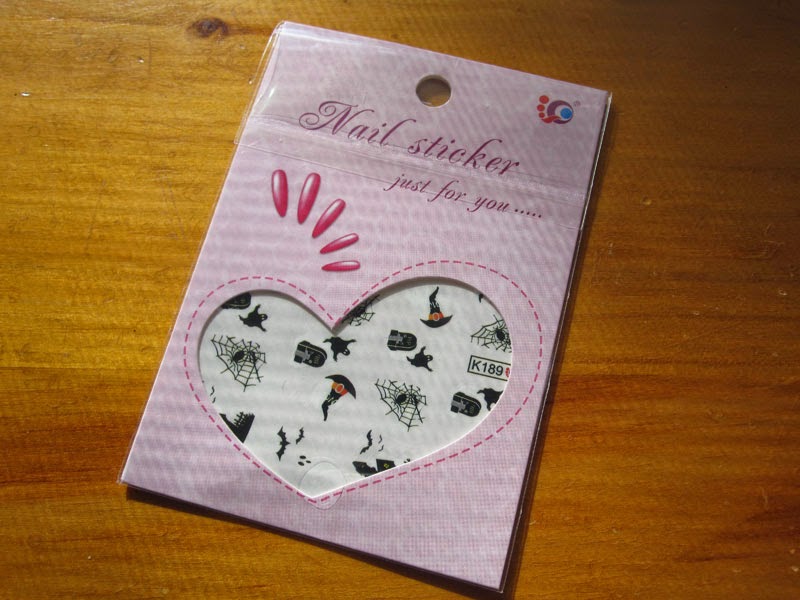
More nail art using polishes from the 2014 October What's In-die Box? holo-ween box. I also used some Halloween nail decals from Born Pretty Store, which were sent to me for review.

(I put them back in the package back-to-front and only realised when I looked at my photos later - oops!)

I love the decals - they're super cute while also having a little Halloween spookiness. You can't see very well in this picture, but the decals are actually multiple colours: black, orange, white, grey and yellow. They really pop on your nails. They're very easy to use (just soak in water until they come away from the backing paper, and then apply to your nails), and they're nice and durable.

You get 20 images, enough for two manicures, which is great! The only downside is that the designs are printed twice - one as a mirror of the other- and for this design, which has some text, you wind up with some mirror text. However if that bothers you, the decals on Born Pretty Store are cheap enough that only doing one manicure with them would be fine, and you could use the remaining decals for accent nails, or combine them with some stamping or other techniques. I just put the mirror image on my thumb and no-one noticed. :D

Reversed writing! Plus my beaten-up tweezers and clean-up brush make a guest appearance.

The only other downside with these decals is that I can't find them on the site at all - I think they may be sold out? So I'm afraid you can't actually buy them! On the other hand, the shipping times from Born Pretty Store mean that you probably wouldn't get them in time for Halloween anyway, unless you paid for express shipping. But there are many other decals which you can get from Born Pretty.

You can also use my coupon code if you place an order (although I believe coupons have been disabled at the moment, due to their big 4th Anniversary Sale) and get 10% off.
Okay, now for the manicure behind the cut!

Wednesday, 8 October 2014

DIY water nail decals for the Pittsburgh Penguins - the NHL season begins!

The National Hockey League (which is made up of Canadian and American teams... just go with it) starts up again this week, so I did my nails to celebrate the return of my NHL team, the Pittsburgh Penguins. I painted my nails white and then applied some nail decals which I made myself by printing onto special water decal paper. I bought the paper off eBay but you may be able to find some in craft or hobby shops.

Even being careful with the application of my topcoat, they still smeared a little. Still, they're a great way of doing small intricate designs, like sports team logos, that you don't have a stamp for and can't freehand that detailed.


Thursday, 25 September 2014

31 Day Challenge, Day 25 - Inspired By Fashion: Denim

Denim! Jeans are such a staple of the fashion world, and I was all set up for this challenge. Some time ago I bought Ciate's Denim Manicure kit, and I've been saving it for the right occasion. And not only is the theme for today "fashion", but tomorrow is a casual Friday. Perfect! (I always do my nails in the evening and wear them the next day.)

Ciate also fits the fashion rule in that you pay a premium for the brand name, unless you are like me and wait for it to pop up on Catch Of The Day. :D

The kit comes with a blue polish, Regatta, which quickly dries to a kind of semi-matte finish. It also has some water decal stitches, some nail studs, and some nail glue. Overall the kit was easy to use, with clear instructions, except for the nail glue. It had to be cut open and then had a tendency to go everywhere. I much prefer my other nail glue, which comes in a little bottle with a brush to paint it on. Much easier to control.

This kit was a lot of fun and I like the end result. Check it out!

(Note: the thumb is part of the picture on the packaging, not my own thumb!)